If you want to take screenshots on Windows for various purposes such as saving details for future reference, keeping evidence, or sharing screen information with others, there are simple shortcut keys you can use. In some cases, you might also need a third-party tool for capturing screenshots. In this article, we will guide you through different methods on how to take a screenshot on Windows.
Table of Contents
Part 1. How to Take a Screenshot on Windows - Best Tool
Taking screenshots in Windows is simple, but what if it has to be done secretly without the user knowing? Here the need for a third-party professional tool arises and the best we recommend here is MoniVisor for Windows. This is an excellent tool for secretively monitoring activities of the target Windows system and supports taking screenshots as well. With this tool, you can even set when to screenshot and the frequency.

Key Features of MoniVisor for Windows
-
Windows-based tool for live screen monitoring of the target system.
-
Allows doing customized settings for taking screenshots automatically.
-
Works as an excellent keylogger for Windows to record all keystroke activities.
-
Not only can you take real-time screenshots, but also record video.
Supports tracking all computer activities like website history, emails, web chats, and more.
How to take screenshot on Windows using MoniVisor
Step 1. Visit the main site of the software, create an account, and get a desired subscription plan to use all the software features.
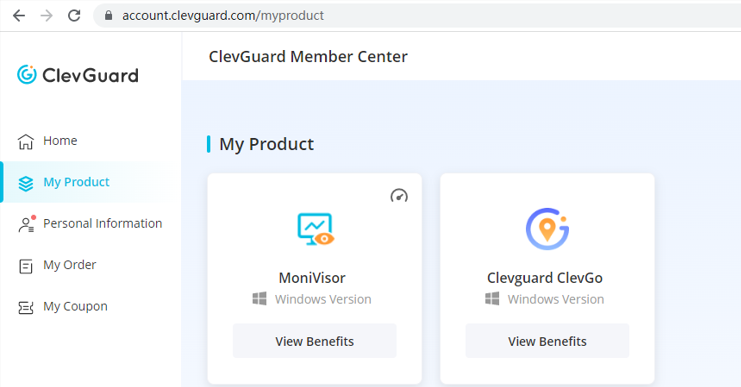
Step 2. Next, on the target Windows system, download the MoniVisor software. Install the software by following the instructions as they appear on the screen.

Step 3. Once the installation is done successfully on the target Windows computer, log in to your account and have access to the web dashboard. All the target Windows computer activities can now be monitored.
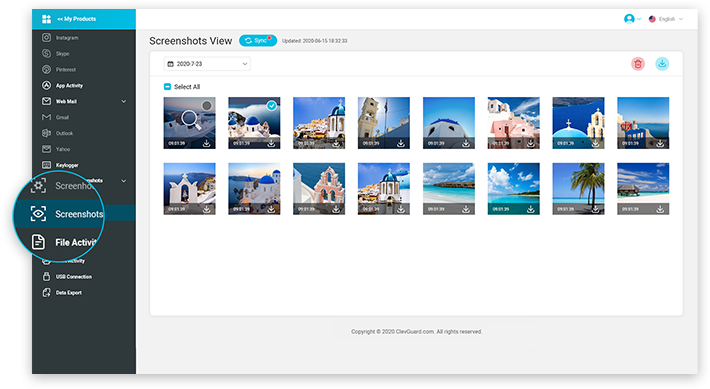
To take a screenshot, click on the Screen Activity > Screenshot Settings option to enable the feature. Then tap on the Start button to capture the screen. All the captured screenshots will be saved to your dashboard. You can move to the View Screenshots feature to find it. And if needed, they can be downloaded to your local system.
Part 2. Taking Screenshots on Windows using Shortcut Keys
Whether you want to take a crop screenshot or full page screenshot on Windows, you can use shortcut keys to do it. In this part, we will provide you two convenient and efficient ways to capture and share your screen content.
1 Taking Crop Screenshot on Windows
How to take a crop screenshot on Windows
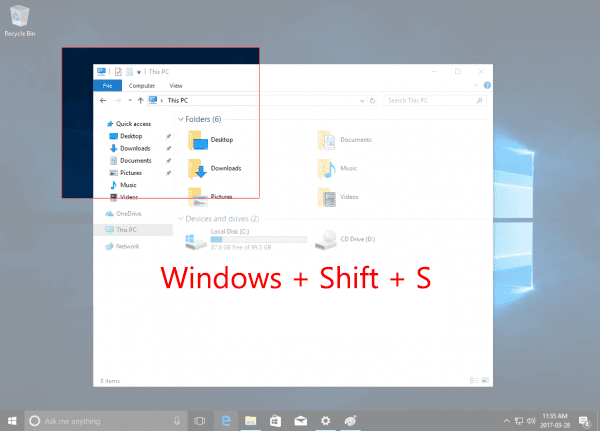
- On your system, click on Windows + Shift + S and this will alter the mouse cursor and your screen will turn into grey.
- Tap on the cursor and drag it on the screen to select the area for which you want to take the screenshot.
- The crop area screenshot will be taken and will be saved to the clipboard.
2 Taking Full Page Screenshots on Windows
How to take full-page screenshots on Windows
- On your Windows screen tap on Windows key + Print Screen key.
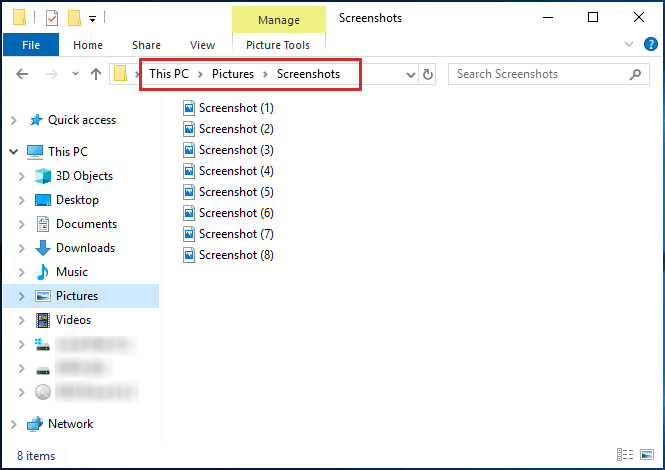
- Next, click on Windows Key +E and you will go to the Picture Library on your system.
- Tap on the Pictures and open the Screenshots folder where the captured screenshots will be saved.
Another way is to simply click on the Print Screen to take a screenshot and then paste the same to the Paint app and save the file.
Part 3. Other Methods to Take Screenshots on Windows
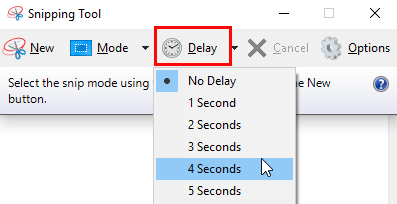
In addition to shortcut keys, another way to take screenshot on Windows is by using the snipping tool which is a built-in feature of the Windows system. The feature allows capturing screenshots of an entire screen, a specific window, or a selected rectangular area as needed. Also, the tool supports features like delay and edit.
Steps to take screenshots on Windows using the snipping tool:
Step 1. First of all, to access the tool, use the search bar or Start Menu to find the Snipping tool. For easier and quick access, you can right-click and choose the program to Pin to Taskbar or Pin to Start menu.
Step 2. Open the Tool and then tap on the Mode icon and from the drop-down menu select the type of screenshot you want to take.
Step 3. Tap on the New button or the selected Mode and then with the mouse pointer choose the area to be captured by dragging the cursor around.
Step 4. With the release of the mouse key, the screenshot will be taken, and click on the Save button to save the image or use Copy to send it to the Clipboard. Also, it can be sent using the Email button.
Conclusion
So, now you are aware of several ways and methods on how to take a screenshot on Windows. With the snipping tool and shot cut key the screenshot can be taken normally, but if it has to be done secretively, you would require a professional tool MoniVisor.
Monitoring of all the other system activities can also be done safely using the tool, including web history, live screen, keylogger, etc. So, if you wish to track the Windows of your children, partners of employees without them knowing, MoniVisor for Windows is an excellent tool to use.


